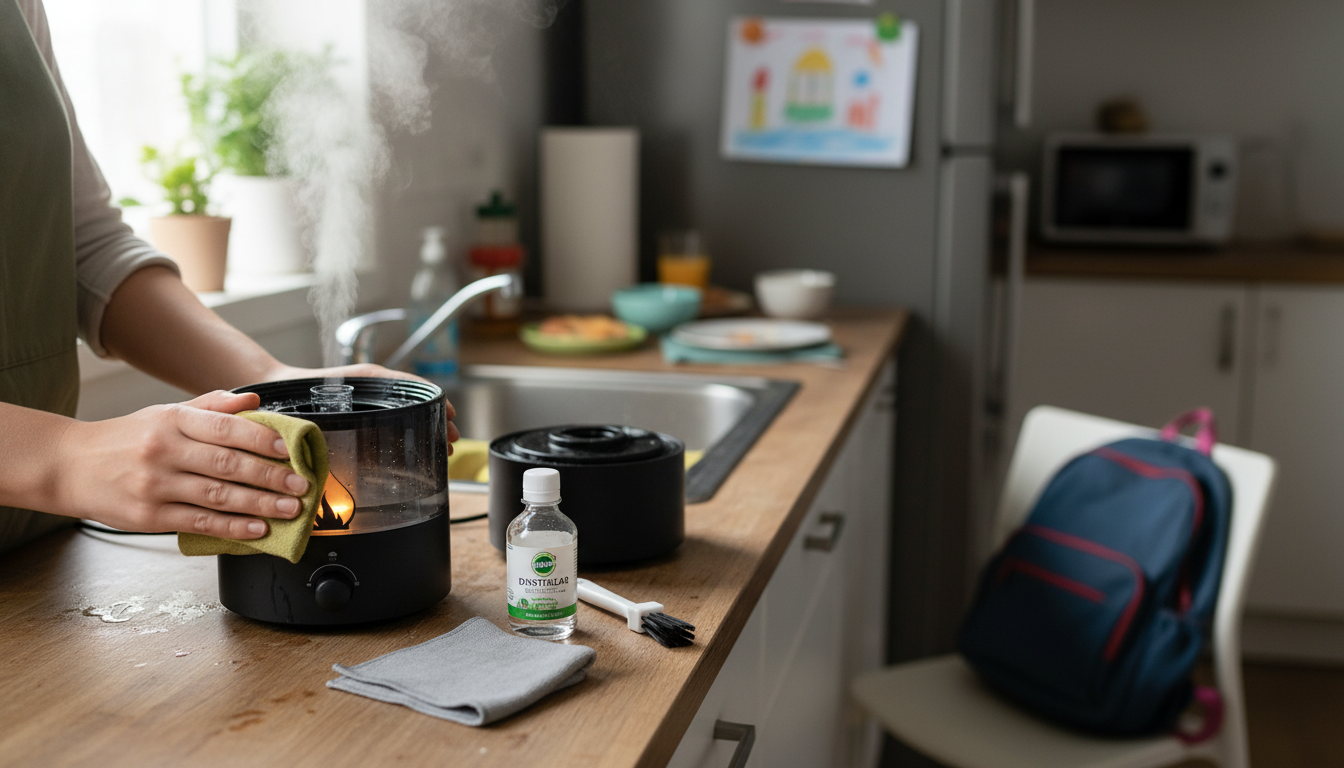
Residue in Clean Ultrasonic Humidifiers and essential oil diffusers usually comes from mineral-heavy water, leftover oils, and biofilm that forms when a tank stays damp. A simple routine cleaning (weekly for most homes) plus a deeper descale as needed keeps mist output steady, reduces odors, and helps the unit run quieter and longer.
Turn the unit off, unplug it, and pour out any remaining water. Remove the lid, tank, and any detachable parts. If your model has a separate base reservoir, empty that too. Never immerse the base in water unless the manufacturer says it’s safe.
Additionally, it’s important to prioritize safety when handling your ultrasonic humidifier. Always ensure that the unit is unplugged before performing any maintenance. Familiarize yourself with the manufacturer’s instructions, as different models may have specific guidelines for cleaning and maintenance. A well-maintained humidifier can significantly enhance your indoor environment by providing consistent moisture levels.
Many users have found that using microfiber cloths can enhance cleaning effectiveness, especially for removing stubborn oils. When wiping down surfaces, consider using circular motions to ensure a thorough clean. If your unit has a high-frequency ultrasonic plate, be gentle, as excessive force can cause damage and affect performance.
Essential oils can cling to plastic and leave a slick ring. Use a soft cloth or cotton swab dampened with warm water and a small drop of mild dish soap to wipe the tank walls, lid, and any splash guards. Rinse well so soap doesn’t end up aerosolized in the mist.
It’s worthwhile to note that vinegar is not only effective at breaking down mineral deposits, but it also acts as a natural disinfectant. After soaking the tank, consider using a final rinse with vinegar to ensure any microbial growth is mitigated. This step is especially important if the humidifier has not been cleaned in a while.
To further extend the life of your ultrasonic humidifier, it’s critical to store it properly during off-seasons. If you plan to not use the unit for an extended period, ensure it’s thoroughly cleaned and completely dry before storing it in a cool, dry place. This practice helps prevent any mold or bacteria from forming in the unit.
In addition, using a soft-bristle brush can be very effective for cleaning the ultrasonic plate and other intricate parts of your humidifier. Brushes that are specifically designed for delicate electronics will help you avoid damage while ensuring a thorough clean. Make sure to follow up with a water rinse after using any brushes or cloths to remove any residue.
To break down white crust or gritty “dust,” add plain white vinegar to the tank (or reservoir) and let it sit for 15–30 minutes. Use a soft brush or cotton swab to gently clean corners and around the ultrasonic plate. For stubborn buildup, repeat the soak rather than scraping, which can damage the plate.
Finally, exploring additional resources can enhance your understanding of Clean Ultrasonic Humidifiers. Joining forums or online communities where users share tips and experiences can provide valuable insights. Engaging in discussions about best practices can help you stay updated with the latest cleaning techniques and maintenance strategies.
Moreover, consider implementing a schedule for regular cleaning. Setting reminders on your calendar for weekly and monthly cleaning tasks can help maintain the performance of your humidifier. This proactive approach not only helps in reducing the frequency of deep cleanings but also keeps your unit running smoothly.
Consider the impact of air quality on your overall health. Using Clean Ultrasonic Humidifiers not only helps with maintaining adequate humidity levels but also can reduce allergens and irritants in the air. This is especially beneficial for individuals with allergies or asthma. By investing time in maintaining your humidifier, you’re also investing in your health.
For further information about Clean Ultrasonic Humidifiers, consider looking at product reviews and comparisons. Understanding the features and benefits of various models can help you choose a humidifier that suits your specific needs. Make use of technology to track your usage and remind you when it’s time for a cleaning session.
The ultrasonic membrane is delicate. Use a cotton swab dipped in vinegar (or a manufacturer-approved cleaner) to wipe it lightly, then wipe again with clean water. Avoid abrasive pads, metal tools, or aggressive brushing.
Rinse all washable parts thoroughly with clean water, then air-dry completely before reassembling. To prevent buildup between deep cleans, empty the tank daily, wipe it dry, and use distilled water whenever possible—especially if you notice mineral residue quickly.
For additional use and care tips specific to Clean Ultrasonic Humidifiers and aroma diffusers, visit this ultrasonic humidifier and diffuser guide.
Hydrogen peroxide is commonly used in small amounts for disinfecting, but it must be rinsed thoroughly and only if your manual allows it. Bleach should be used only when explicitly permitted by the manufacturer, since residue can be irritating if any remains in the tank or base.












Leave a comment